How to Make the Most Amazing Slime Licker at Home!
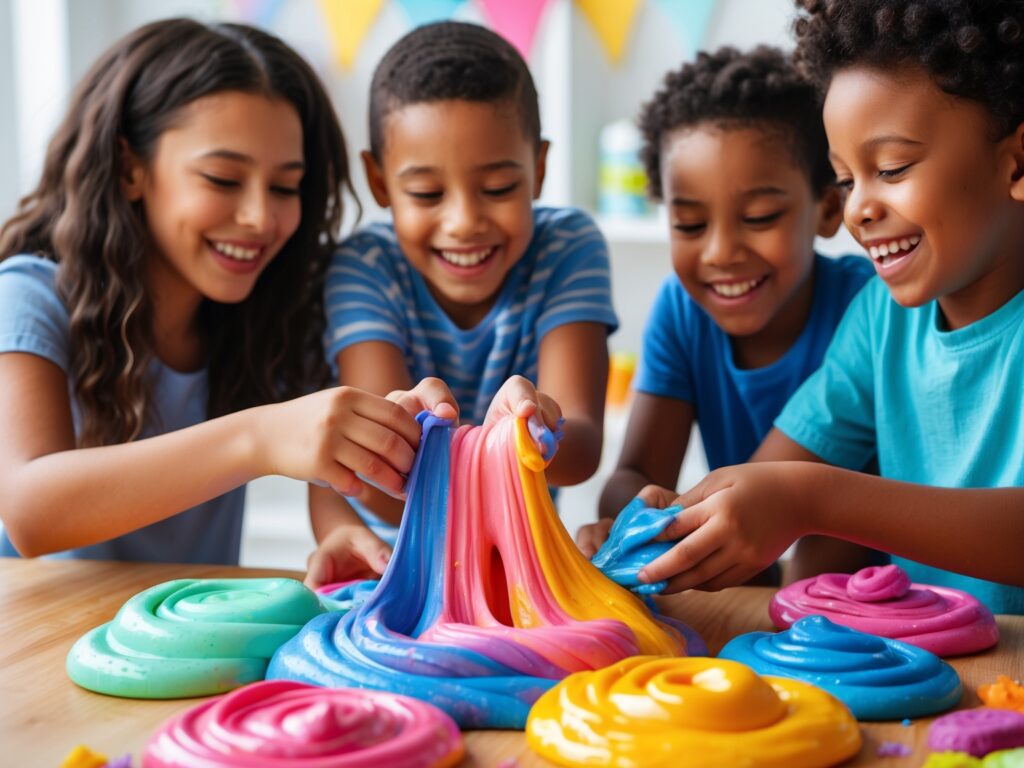
Welcome to the ultimate Slime Licker guide! If you love the fun, colorful, and gooey textures of candy-inspired slime, you’re in the right place. Today, we’ll show you how to create this slime right at home using simple ingredients. Whether you’re making candy-themed slime for playtime or crafting a giant slime inspired by Slime Licker, this DIY recipe will give you everything you need to make the most amazing slime ever!
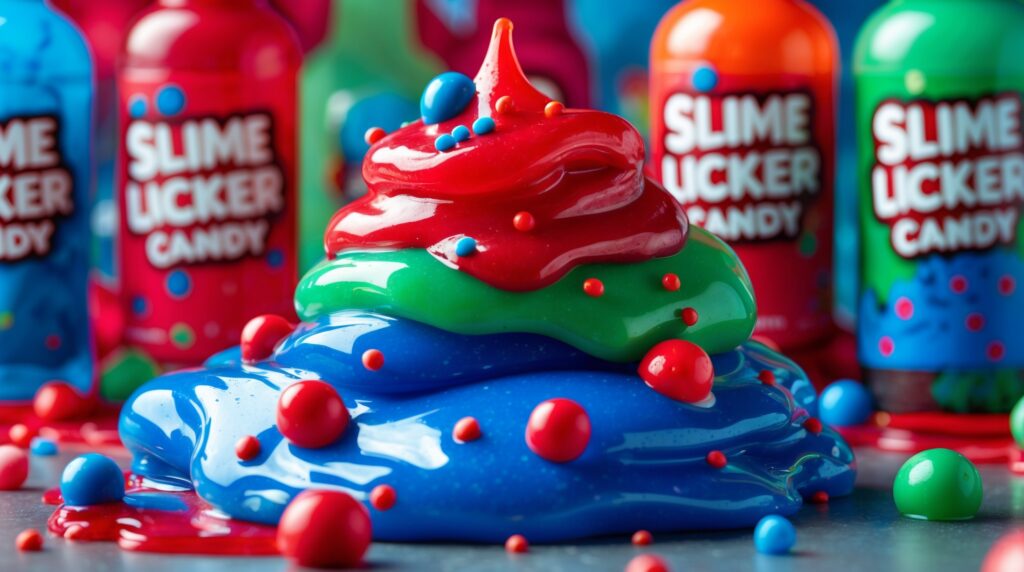
So, you might be wondering, What is Slime Licker?
Slime Licker is a fun, candy-inspired treat that’s taken the internet by storm. In fact, it’s become a viral sensation. Now, it’s time to bring that playful energy into your slime-making adventures. This recipe lets you create a slime that mimics the texture and vibrant colors of the popular slime treat candy. Perfect for kids, this recipe is fun, easy to make, and totally customizable!
Slime Licker Ingredients You’ll Need
To begin, gather the following ingredients:
- Clear glue – For a transparent, glossy finish
- Baking soda – To help set the slime texture
- Contact lens solution – Activator that makes the slime stretchy and squishy
- Food coloring – Choose colors that match the candy’s vibrant hues
- Shaving cream (optional) – For a fluffier, cloud-like texture
These ingredients are simple and safe, so you can feel confident in making this DIY slime with your kids. Once you have everything ready, let’s dive into making your Slime Licker slime!
How to Make Slime Licker-Inspired Slime at Home
Now that you have all your ingredients, let’s start making the most amazing Slime
Step 1: Mix the Glue and Baking Soda
First, by pouring clear glue into a bowl. then, add about a teaspoon of baking soda and mix well. This combination helps give your slime a nice, thick consistency. As a result, it will be easier to handle. Once you’ve mixed the ingredients, you’re ready to move on to the next step.
Step 2: Add Food Coloring
To make your slime look just like the Slime Licker candy, add a few drops of food coloring. For example, Choose bold colors like red, blue, or green to match the candy’s vibrant look. Mix until the color is fully incorporated. After this, your slime will look just like the candy itself!
Step 3: Add Shaving Cream (Optional)
So, If you want a fluffier texture, go ahead and add a dollop of shaving cream. This will give your slime a puffy, cloud-like texture, therefore adding to the fun! Feel free to skip this step if you prefer a firmer slime.
Step 4: Add Contact Lens Solution
At this point, it’s time to activate the slime. Slowly add contact lens solution while stirring. You’ll start to see your slime come together. Continue adding the solution until the slime pulls away from the sides of the bowl and reaches a stretchy, gooey texture.
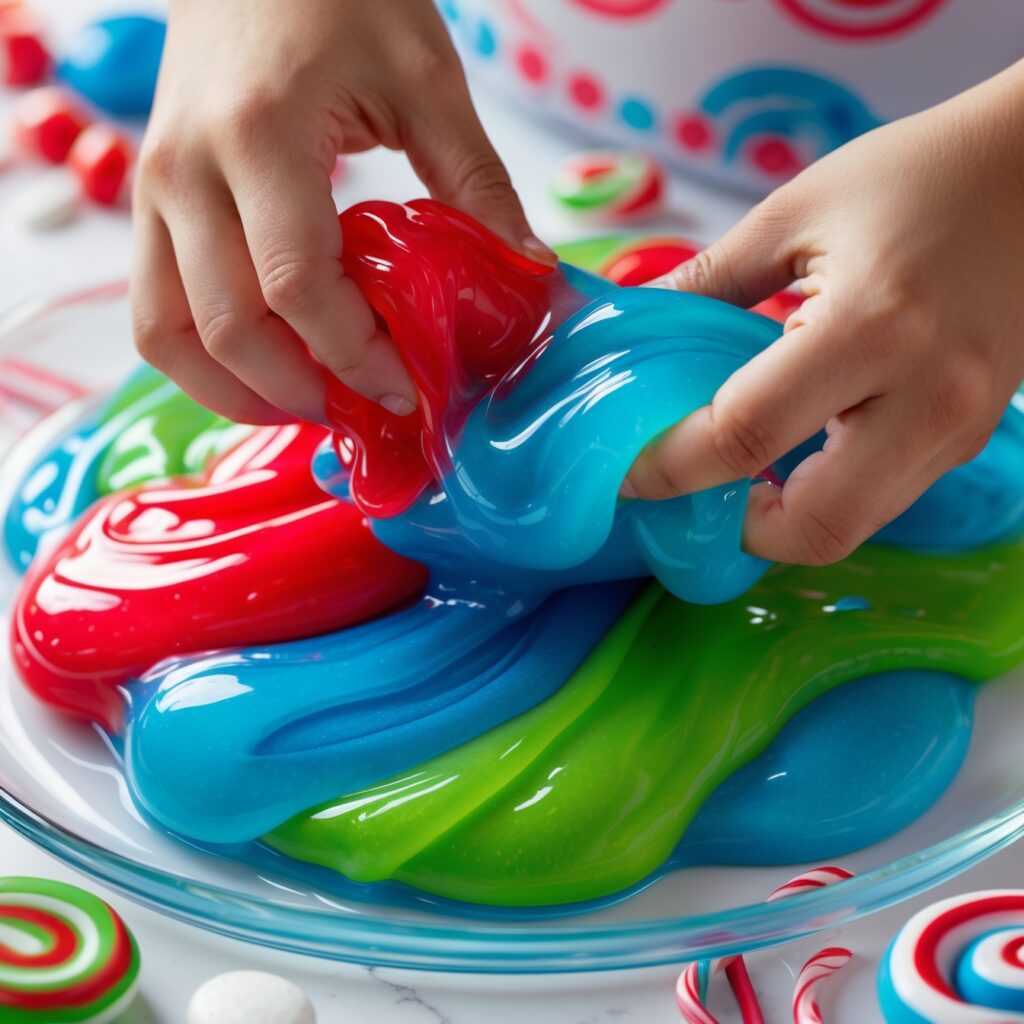
Step 5: Knead Your Slime
Once your slime is fully formed, take it out of the bowl and knead it with your hands. This helps improve the texture and makes it more pliable. After kneading for a few minutes, your Slime is ready to play with!
And just like that, you’ve created Slime Licker-inspired slime at home! It’s the perfect texture for endless play and sensory fun.
Additionally, For an even simpler slime-making experience, check out The Best Clear Slime Recipe: Easy DIY for Beginners. This beginner-friendly recipe focuses on clear slime, making it a perfect base for colorful and creative projects like this one!
Mega Slime Licker Recipe: Make a Giant Batch!
Also, If you want to take things to the next level, try our Mega Slime Licker recipe. This recipe will help you make a larger batch of slime, perfect for more playtime or sharing with friends! Moreover, it’s ideal for kids who love to create large quantities of slime.
Ingredients for Mega Slime Licker:
- 2 cups of clear glue
- 2 tablespoons of baking soda
- 1/2 cup of contact lens solution
- 1 tablespoon of shaving cream
- Food coloring of your choice
Directions:
- Mix the ingredients in a large bowl as you did for the standard recipe, but double the quantities.
- Follow the same activating process with contact lens solution, adding it until the slime reaches your desired consistency.
- Once the slime is ready, knead it until it’s smooth and stretchy.
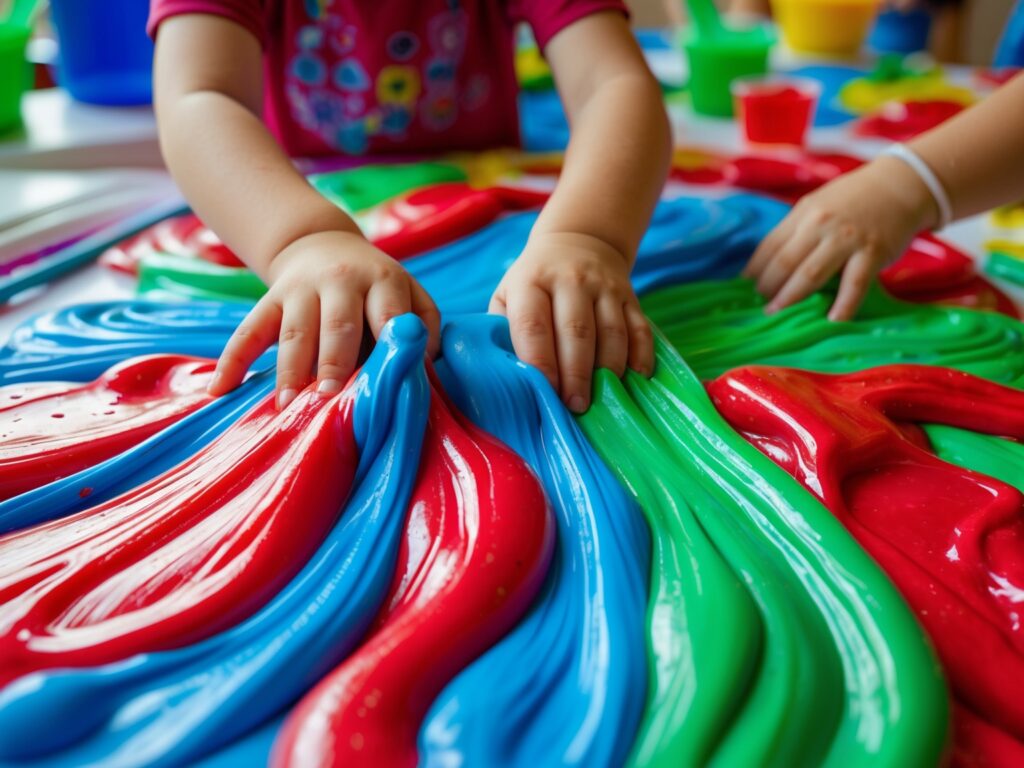
With this Mega Slime Licker slime recipe, you’ll have enough slime for an entire party! It’s perfect for kids who love making giant batches of slime for sensory play.
If you’re looking for an alternative method to create slime, especially without glue, then consider exploring How to Make Clear Slime Without Glue: The Ultimate Guide. It’s a fun, glue-free recipe perfect for experimenting with unique textures and techniques!
Slime Licker 2.0 Tutorial: How to Level Up Your Slime
So, Are you looking to make Slime Licker 2.0 slime? This upgraded version involves adding scented oils or glitter for an extra sensory experience. Here’s how to make it:
Ingredients:
- One cup of clear glue
- 1 teaspoon of baking soda
- 1 tablespoon of shaving cream
- 1/2 cup of contact lens solution
- Glitter (optional, for added sparkle)
- Scented oil (optional, for extra sensory fun)
Directions:
- Combine clear glue and baking soda in a bowl.
- Add your shaving cream and mix well for a fluffy texture.
- Slowly add contact lens solution to activate the slime. Keep stirring until the slime forms.
- Add glitter and a few drops of scented oil if you want your slime to sparkle and smell amazing.
- Knead the slime until it’s smooth and stretchy.
Now you have a Slime Licker 2.0 that’s both fun to touch and play with—and it smells amazing too!
Slime Licker Candy Meets DIY Slime
One of the best parts of making Slime Licker slime is the connection to the candy itself. Kids love creating candy-themed slime, and this recipe gives them the chance to replicate their favorite Slime Licker candy in slime form. Not only does it look like the candy, but it has the same sensory experience with its gooey, squishy texture.
Where to Buy Slime Licker Ingredients
If you’re wondering where to buy the Slime Licker ingredients needed for this recipe, don’t worry! Most of them can be found at your local craft store or online. Here’s where to look:
- Clear glue – Available at most craft stores or online retailers like Amazon.
- Contact lens solution – Available at pharmacies or grocery stores.
- Food coloring – You can find food coloring at craft stores or baking sections.
- Shaving cream – Available in most grocery stores.
These ingredients are affordable and easy to find, so you can create Slime Licker slime whenever you want!
Want to recreate the Slime Licker experience at home or simply enjoy the original candy? Check out the Toxic Waste Slime Licker 2.0 Sour Liquid Candy 3-Pack available on Amazon—it’s perfect for pairing with your DIY slime creations!
Make Your Slime for Endless Fun
Finally, making Slime Licker slime at home is an enjoyable, hands-on activity that kids (and adults!) will love. Whether you’re making Slime Licker 2.0 slime, a Mega Slime Licker slime, or just a regular batch, the possibilities are endless. This DIY slime recipe is perfect for anyone who loves crafting creative and gooey slime recipes.
Don’t forget to share your amazing creations with friends and family and enjoy the endless fun that comes with Slime Licker slime!
For even more exciting slime ideas and inspiration, visit our homepage: Explore The Best Easy Slime Recipe For All Ages, where you’ll find everything you need to start crafting slime for any occasion and skill level!